 Bed Options
 Mattresses
 Headboards
 Accessories
 Installation
 Build a Waterbed
 Contact
Waterbed Installation Video
Coming soon...
High & Dry Waterbed Installation Guide






Installation Notes
- Unpack and check that you have all the components on the check list
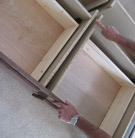
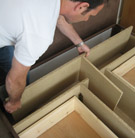
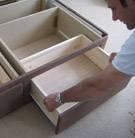
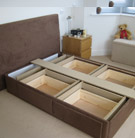
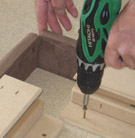
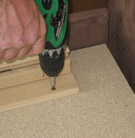
- If you have ordered a drawer unit with your waterbed, position the drawer on the drawer front and screw the fronts on.
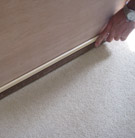
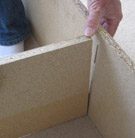
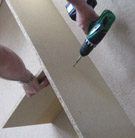
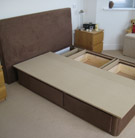
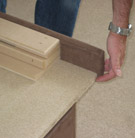
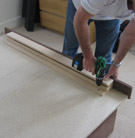
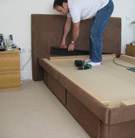
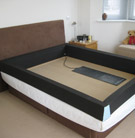
- Screw the 4 sides of the waterbed base together and position it where you want it. Remember the top section will overhang the base by 3" all round. Allow space between the base and the wall and allow for a waterbed headboard if you have selected one. Square the base by taking diagonal measurements See our 'waterbed installation supplements 'Positioning your waterbed Base'
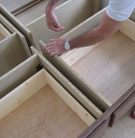
- Fit the additional weight distribution boards
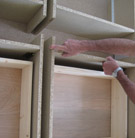
- Check that the drawers run smoothly in the waterbed base. If the drawer fronts do not close equally against the waterbed base, it is obviously not square to the face. By moving the back of the drawer carcase, you can re align this and the drawer front will close flush.
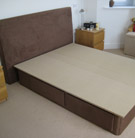
- Lay the deck boards on the waterbed base and centralise it so you have an equal overhang all around.
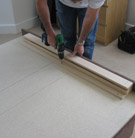
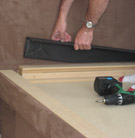
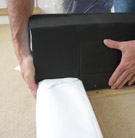
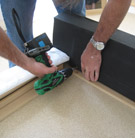
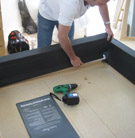
- Position the footend bumper and centralise it, then screw it down to the waterbed deck boards with the three 30mm screws.
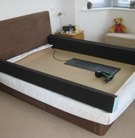
- Butt the two side bumpers to the footend bumper, and screw these down.
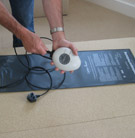
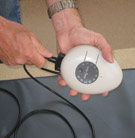
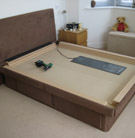
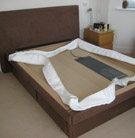
- Unpack the waterbed heater, If you have dual mattresses you will have two waterbed heaters. Connect the waterbed heat pad to the control. Position the controller beside the waterbed, close to a plug socket. Lay the Heat pad on the chipboard decking.
- Screw down the fourth bumper at the headend. If a headboard will be fitted, fix the spacer provided to the headend bumper. This will hold the headboard in position once the waterbed mattress is filled.
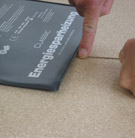
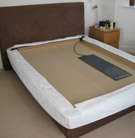
- Position the waterbed heat pad. It is important that the heat pad is not across a join in the decking or too close to the edge of the waterbed. It is better if the heat pad is on one side or the other as opposed to being in the middle. It is also better to be nearer to the footend of the bed.
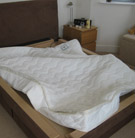
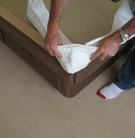
- Unpack the waterbed casing and washable top. Lay it over the waterbed with the zip start in the top right corner as you stand looking at the waterbed, Zip the waterbed cover off and put it aside. Turn the corners of the casing inside out over the bumpers. A rope edge is sewn into the
- Position one foam side over a side bumper, and screw through the batten into the bumper. This will lock the foam and casing securely into position. Repeat for the second side foam. You can now insert the two end foams neatly between the sides and screw them in place.
- You are now ready to fit the safety liner and Mattress, See our 'waterbed installation supplements 'Filling a waterbed mattress'

